
Understanding the Importance of Sticker Photos
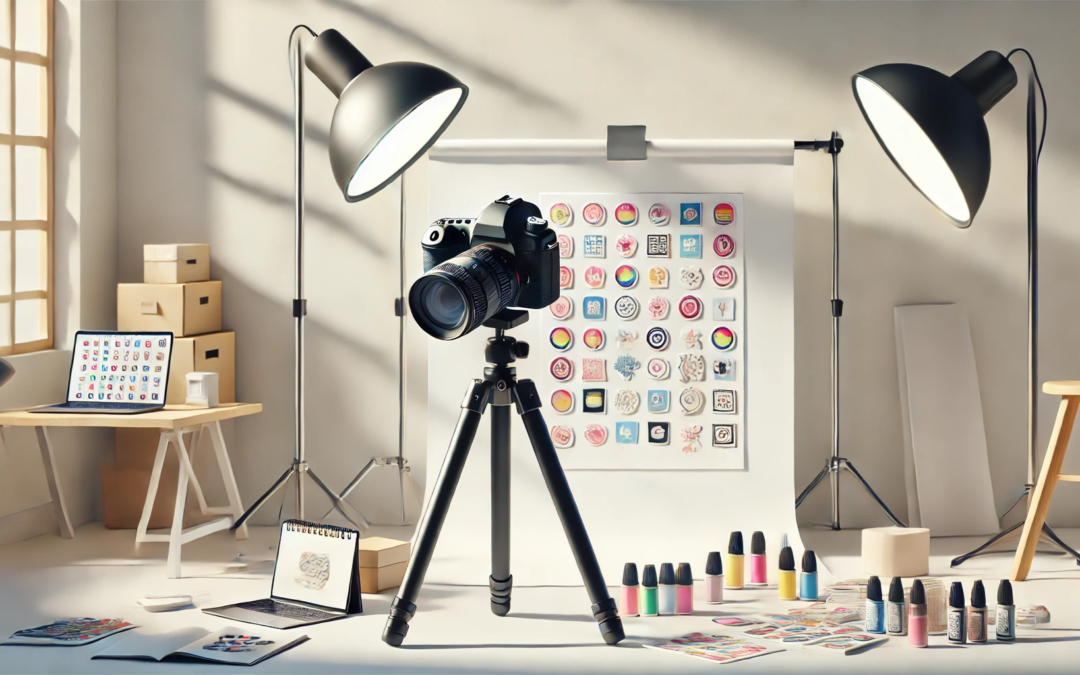
1. Set Up a Clean and Simple Background
A clean background keeps the focus on your stickers. White or light-colored backdrops work well for a professional look, but you can also experiment with muted tones or natural textures like wood or marble. Avoid busy patterns that might distract from the design.
Pro Tip: Poster boards or sheets of white paper make inexpensive and effective backdrops.
2. Get the Lighting Right
Good lighting can make or break your product photos. Natural light is your best friend—shoot near a window with soft, diffused light. Avoid harsh sunlight that can create unwanted shadows.
If natural light isn’t an option, use softbox lights or a lightbox to create even illumination. Consider using a ring light for bright and balanced exposure.
3. Use a High-Quality Camera (But Your Smartphone Might Do!)
You don’t need a fancy DSLR camera to take great product photos. Modern smartphones have impressive cameras and, when paired with good lighting, can deliver sharp, vibrant images.
- Use gridlines to keep your shots straight.
- Clean your lens before shooting.
- Avoid zooming in digitally, as it can reduce image quality.

4. Show Stickers in Use
5. Capture Different Angles and Details
- Close-ups: Highlight intricate details.
- Flat lay: Showcase multiple stickers in a single shot.
- Action shots: Show someone peeling or applying the sticker.
6. Edit, But Keep It Real
- Brightness and contrast: Make colors pop.
- Crop and straighten: Ensure your stickers are centered and well-framed.
- Color correction: Keep colors true to life.
7. Optimize for E-Commerce
- Thumbnail images for quick browsing.
- High-quality product photos for product pages.
- Lifestyle shots for social media and marketing.
